

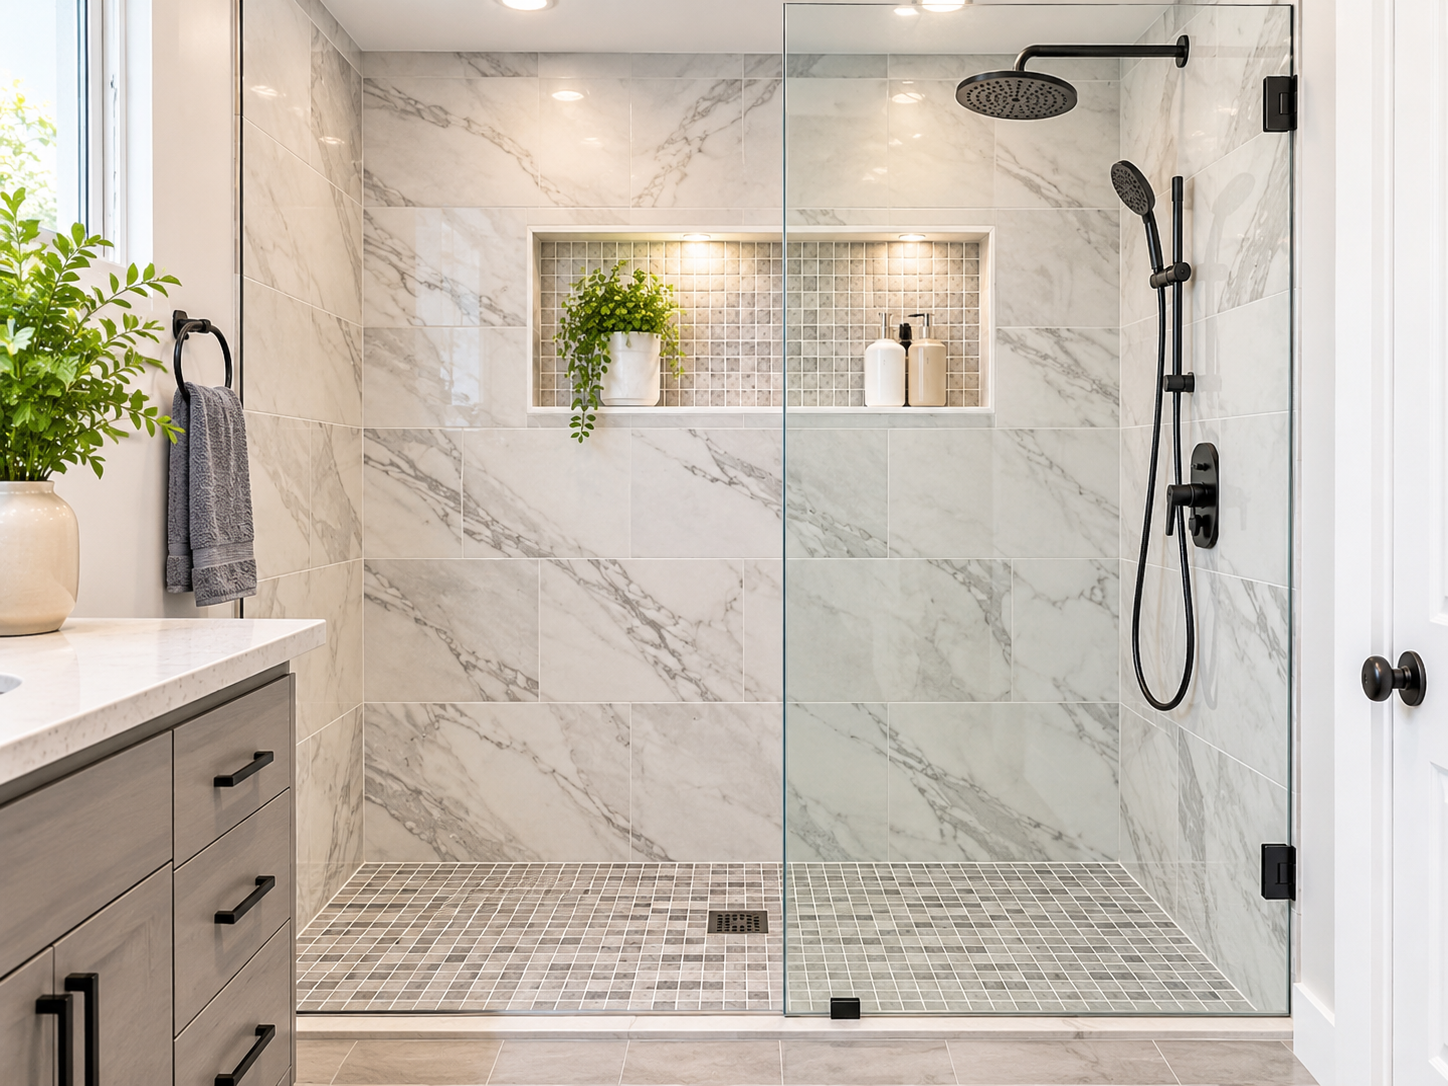
Short answer: The best tub to shower conversion ideas start with the footprint of your old tub, which is usually 60 by 30 inches. Size the new shower to that space, choose a low or curbless entry, add a frameless glass panel, and put a proper waterproofing layer behind the tile. Pick the build type that fits your budget, then add only the extras you will use every day.
Introduction
Most bathrooms have a tub that looks great in photos and gets used maybe twice a year. Meanwhile, you step over a 15 inch wall every morning, and the room feels smaller than it should.
That is why so many homeowners are pulling the tub and building a walk-in shower in its place. It is one of the easiest ways to start a modern bathroom makeover, because it changes how the room looks and how it works at the same time. It can also go wrong fast. The wrong shower size, a badly sloped floor, or skipped waterproofing can turn a good idea into an expensive repair.
This guide on My Home Improve Ideas covers what most pages leave out: real measurements, honest cost ranges, what you can DIY and what you should not, and a simple timeline so you are not stuck without a shower longer than you need to be. The numbers are typical for US homes, so use them for planning and confirm them with local quotes.
Why Is Converting a Tub to a Shower Worth It?
Most people do it for one of three reasons. The step-over is hard on the knees, the tub never gets used, or the room feels cramped.
A standard tub wall is about 14 to 20 inches high. That is a real obstacle for older adults, for anyone recovering from surgery, or for someone carrying a laundry basket. A walk-in shower removes it.
Space is the second win. Codes based on the International Residential Code generally ask for a shower interior of at least 900 square inches that fits a 30 inch circle. So a shower can be as small as 30 by 30 inches, while your tub used up 60 by 30.
Water use is the third, but keep it in perspective. A tub fill takes roughly 30 to 50 gallons. An eight minute shower with a 2.0 gallon per minute showerhead uses about 16 gallons. You save water every time, but that alone will not pay for the remodel.
Now the honest part. If this is the only tub in the house and your likely buyers are families with small kids, keep one tub somewhere. If another bathroom has a tub, or you plan to stay for years, a well-built walk-in shower usually reads as an upgrade.
Picture a 1980s hall bath with a tub nobody has filled in years. The owners swap it for a 60 by 36 inch shower with a small bench, and the room suddenly feels twice as big. If a full tear-out is more than you need, a handful of smaller practical upgrades can still change how the room works day to day.
Compare the Main Build Types Before You Choose a Design
The build type decides your cost, your timeline, and how many design choices you get. Start here, because every idea below depends on it.
| Build type | Typical Installed cost (US) | Time on site | Best for | Main trade-off |
|---|---|---|---|---|
| Prefab base with wall panels | $1,500 to $5,000 | 2 to 4 days | Tight budgets, guest baths, fast turnaround | Fewer sizes and styles, visible seams |
| Large panel walls with a standard base | $3,000 to $8,000 | 3 to 6 days | Easy cleaning, fewer grout lines | Fewer finish options, seams need care |
| Tile over a waterproofed pan | $5,000 to $12,000 | 7 to 14 days | Most family bathrooms, custom looks | More labor and longer cure times |
| Curbless tile shower | $8,000 to $20,000 and up | 2 to 3 weeks | Aging in place, a high-end look | Floor recessing and possible joist or slab work |
Costs swing a lot by region, access, and what is hiding under the old tub. Get at least three itemized quotes before you commit.
Best Shower Conversion Ideas for a Modern Bathroom
These ten ideas follow the order you will actually make decisions, from layout to the hidden work behind the wall.
1. Size the Shower to Your Old Tub Footprint First
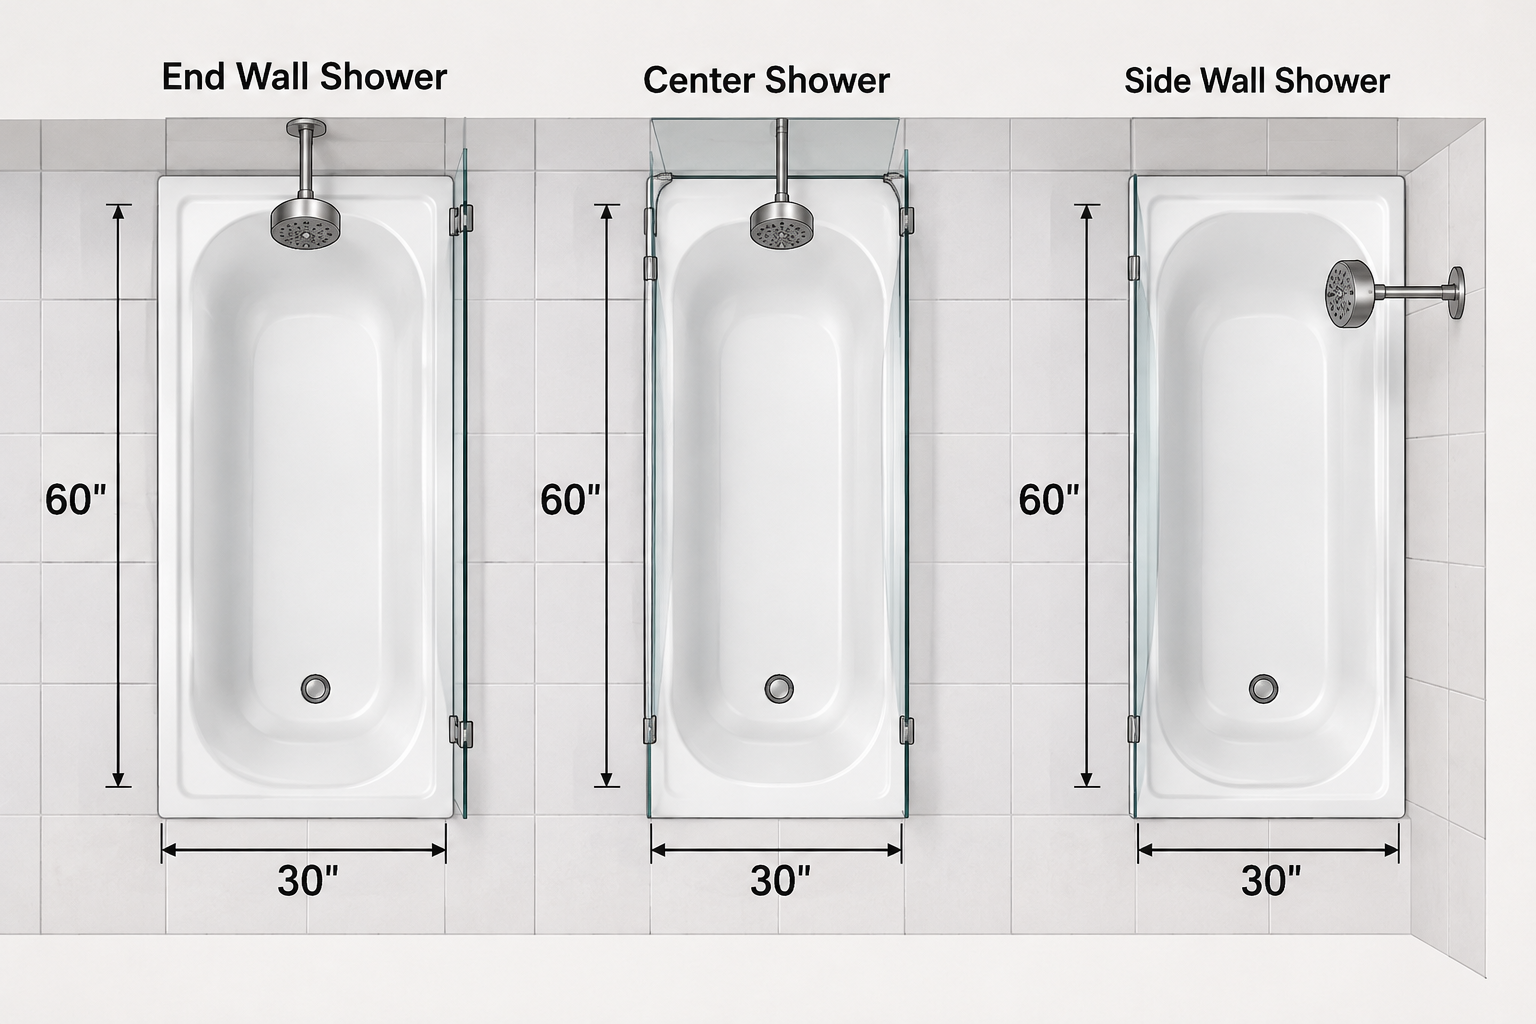
Your tub footprint shower size is the starting point. A standard alcove tub is 60 inches long and 30 to 32 inches deep. That opening supports a few clean layouts:
- 60 x 30 or 60 x 32: a direct swap that keeps the plumbing wall as is and costs the least.
- 60 x 36: adds room for a bench or just more elbow space. You usually need to borrow 4 to 6 inches from the room or a nearby closet.
- 48 x 36 plus a 12 inch tall cabinet: a shower with built-in towel storage at the end.
- 36 x 36 plus a 24 inch closet: a compact shower with room for shelves or a stacked laundry unit.
Standard prefab bases come in most of these sizes. Tiled pans can be any size you like. Before you pick, check clearance around the toilet and vanity, because the small bathroom ideas with real measurements show how much walking space you actually need. If the door swing eats the room, go with a sliding door or a fixed panel.
2. Turn Leftover Inches Into Storage Instead of Dead Space
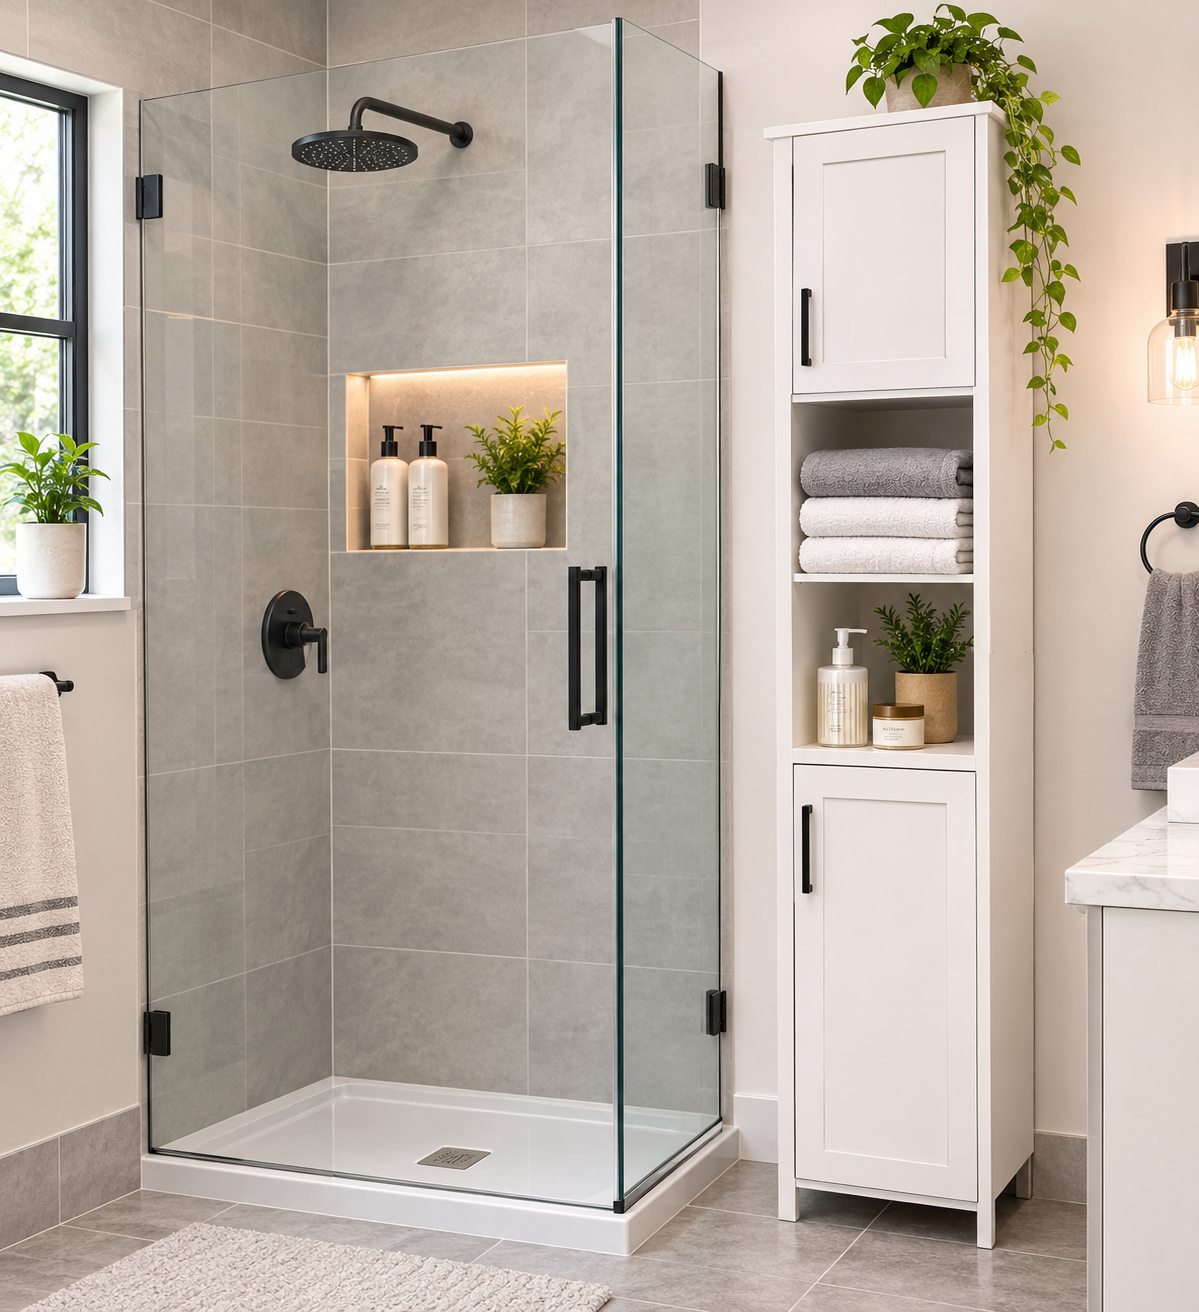
If you choose a shorter shower, you gain floor length you did not have before. Many people leave it empty. Use it for built-in bathroom storage like a 12 inch wide tall cabinet, open shelves, or a recessed wall unit between studs.
Another option is a wider vanity. When the shower takes less wall, that freed length can go to the sink side of the room. Check the standard widths and depths in a bathroom vanity breakdown before you order, because a 36 inch vanity and a 30 inch door swing do not always agree.
One caution. Every extra cabinet needs a clear path to the door, so draw it to scale on paper or with painter's tape on the floor first.
3. Choose a Curbless or Low Threshold Entry If You Plan to Stay Long Term
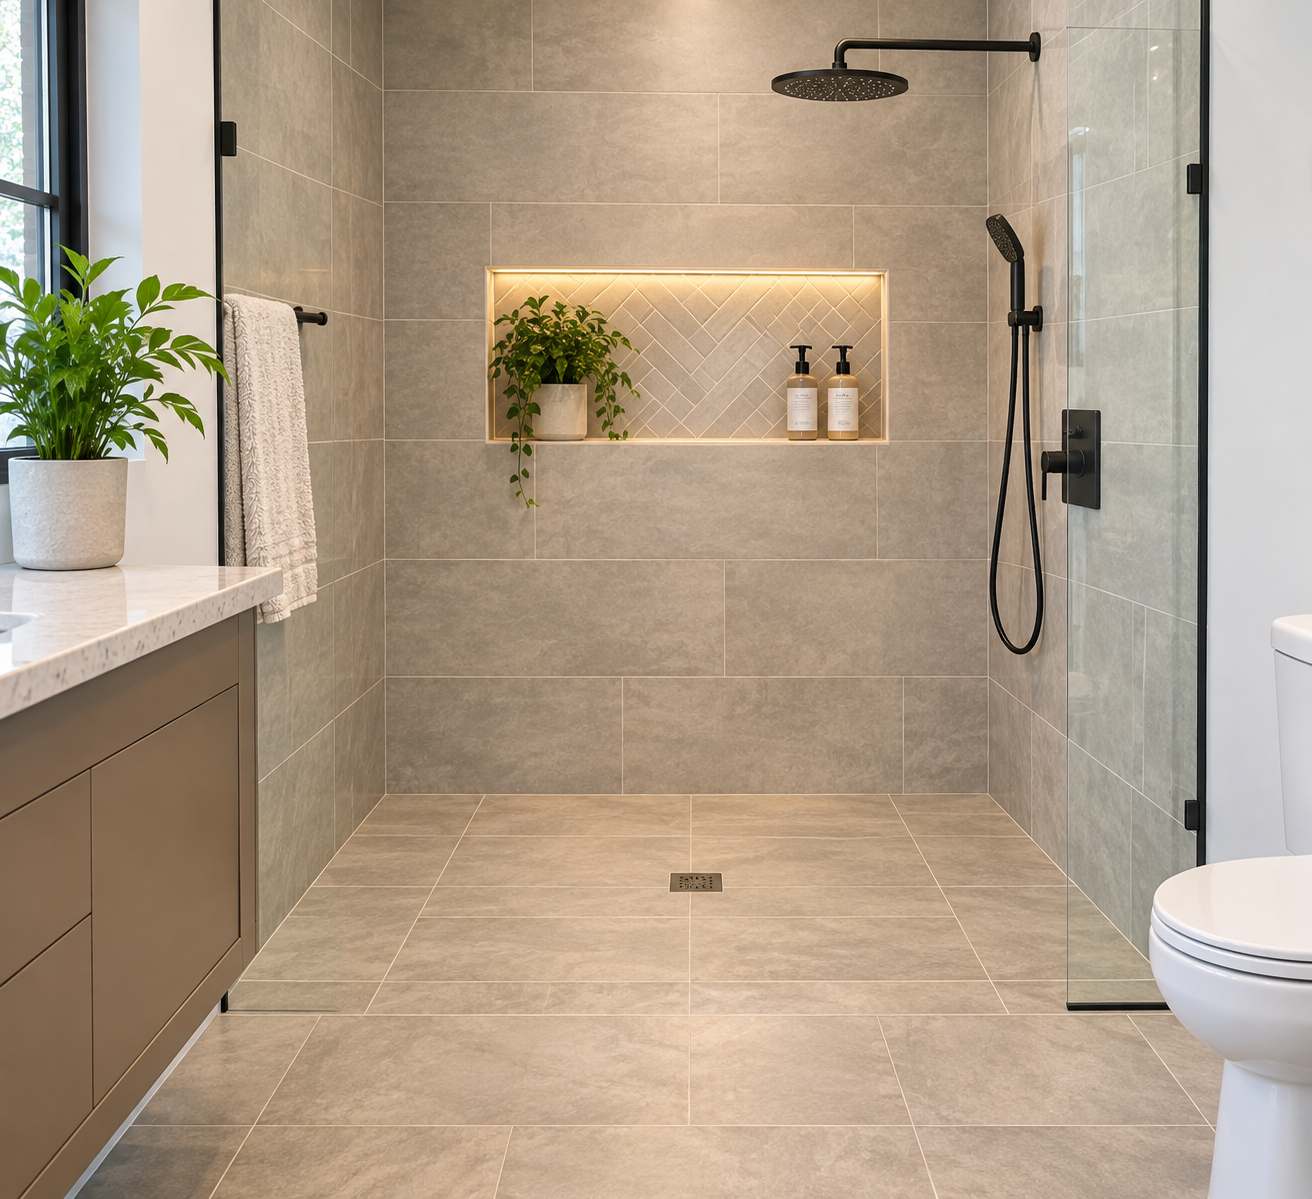
A curbless shower entry sits level with the bathroom floor, so there is nothing to step over. It is the most useful feature for anyone who wants to stay in the house as they age. It also makes a small bathroom look larger.
The catch is structure. The shower floor has to slope about 1/4 inch per foot toward the drain, so the pan area must sit lower than the room floor. On a wood floor that can mean notching or lowering framing. On a concrete slab it means cutting and recessing the concrete. Both add cost and need someone who has done it before.
If the structure will not allow a flush entry, a low threshold of 1 to 2 inches still gives you most of the benefit. It is much easier than climbing a 15 inch tub wall, and it costs far less.
4. Pick Frameless Glass, or Go Doorless Only If the Spray Zone Allows It
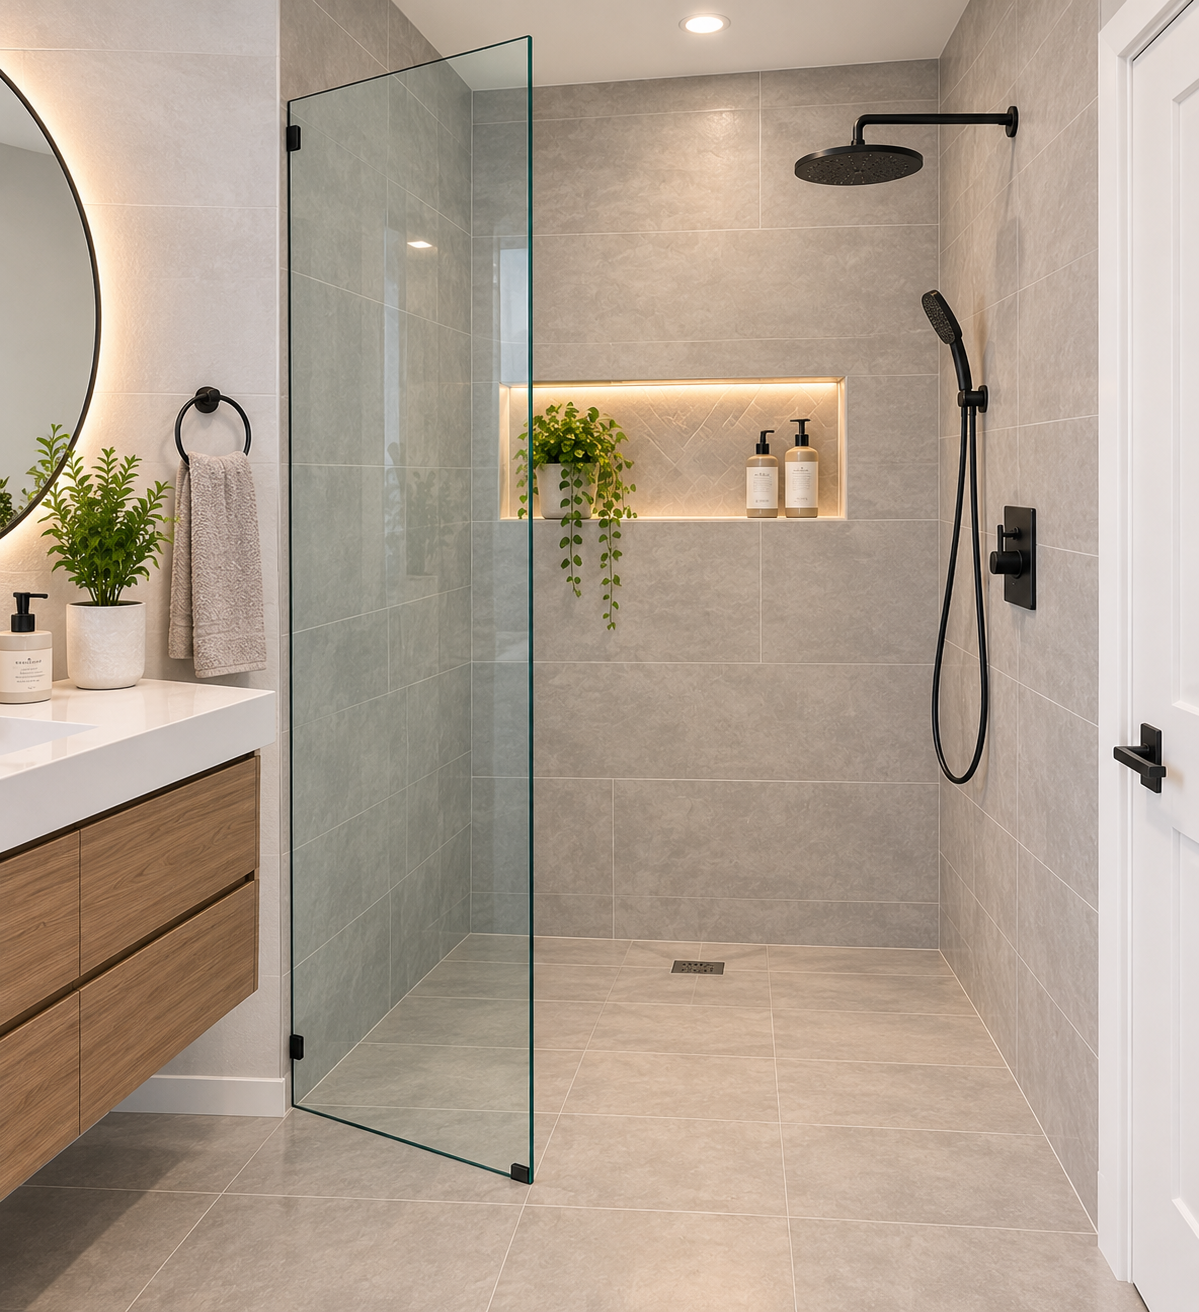
A doorless walk-in shower looks clean, but it only works when the space is right. A good rule of thumb is about 60 inches of length, with the showerhead on the wall farthest from the opening and a fixed glass panel of 30 to 36 inches on the open side. Without that, water reaches the floor and the room feels cold.
In a smaller alcove, a pivot door or a sliding door is the safer pick. Frameless glass costs more than framed, but it keeps sightlines open and shows off your tile. Glass in wet areas should be tempered safety glass, and most pros order it only after the walls are finished so it fits exactly.
If your bathroom runs cold in winter, a door is a comfort choice, not a style failure.
5. Match the Drain to Your Tile Plan
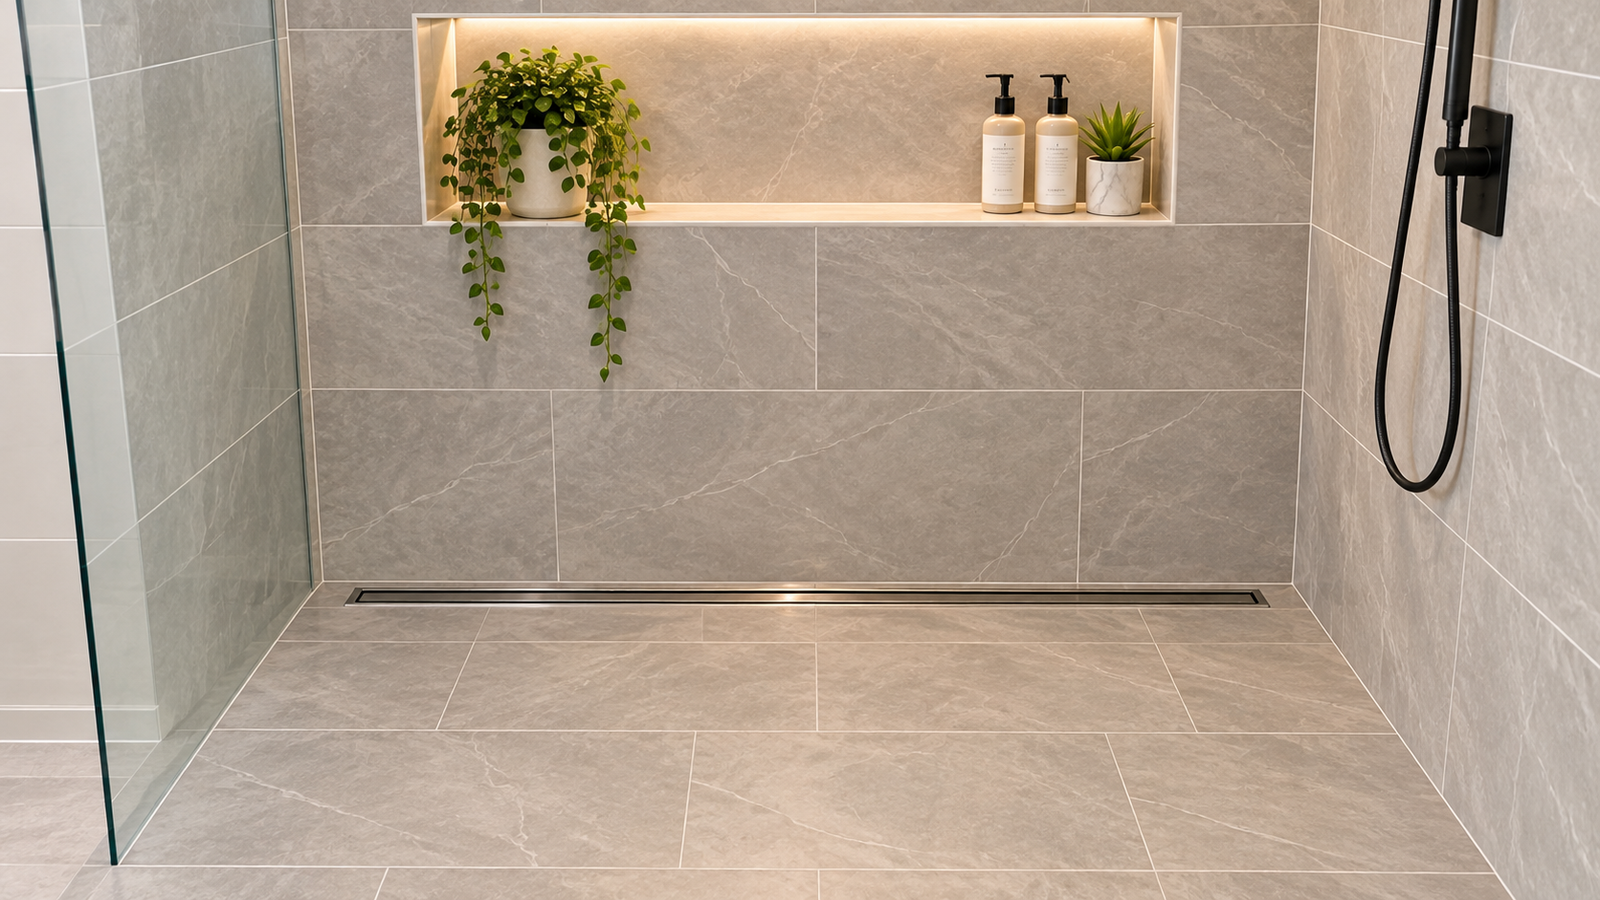
A linear shower drain runs along one edge instead of sitting in the middle. That lets the floor slope in a single plane, which makes large floor tile possible and gives curbless showers their smooth look. A center drain slopes the floor four ways, so it works best with small tile.
Here is a detail most guides skip. Tub drains are often 1.5 inch pipe, while most codes call for a 2 inch drain in a shower. Ask your plumber to check, because upsizing the line can add to the bill.
Moving a drain costs more than leaving it, especially on a slab. If your budget is tight, keep the drain where it is and design around it.
6. Use Large Wall Tile With Small Floor Tile
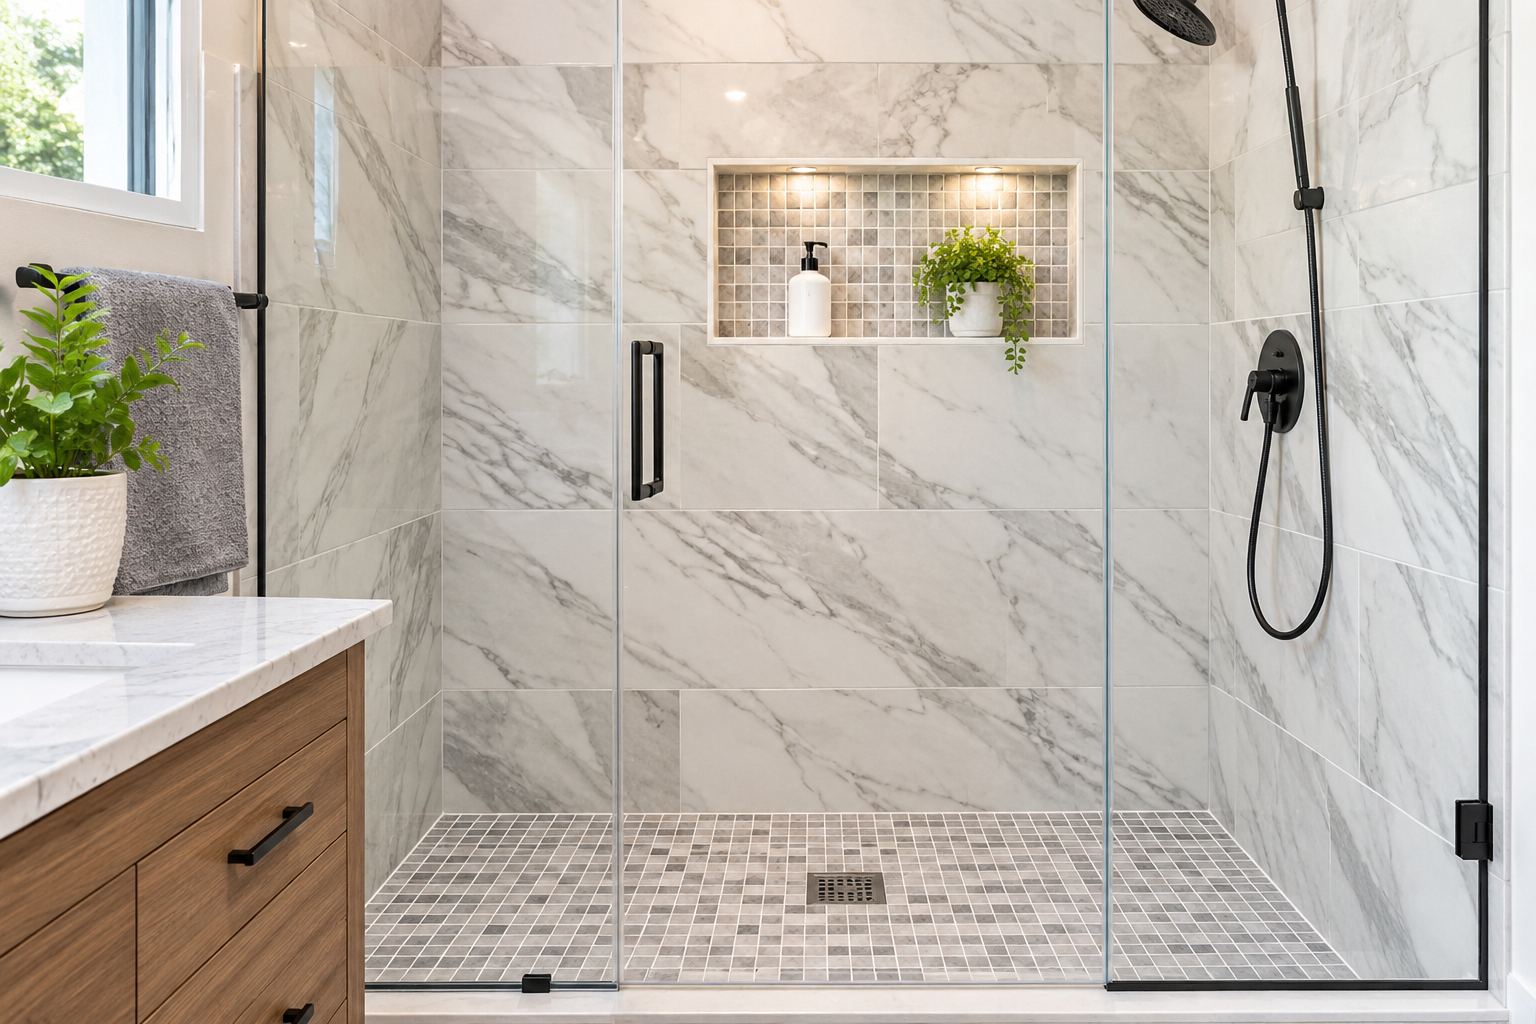
Large format shower tile on the walls means fewer grout lines, a calmer look, and faster cleaning. Panels around 24 by 48 inches are common now. They work well in a converted shower because the old tub surround is a simple flat wall.
The floor is different. Small mosaics, up to about 2 by 2 inches, bend to the slope and give better grip underfoot. Look for a wet DCOF rating of 0.42 or higher, the common benchmark for floor tile in wet areas. Large tile on a sloped shower floor tends to leave sharp edges and awkward cuts.
Dark or mid-tone grout hides stains better than white. If you pick cement grout, plan to seal it.
7. Build the Niche and Bench During Framing, Not Afterward
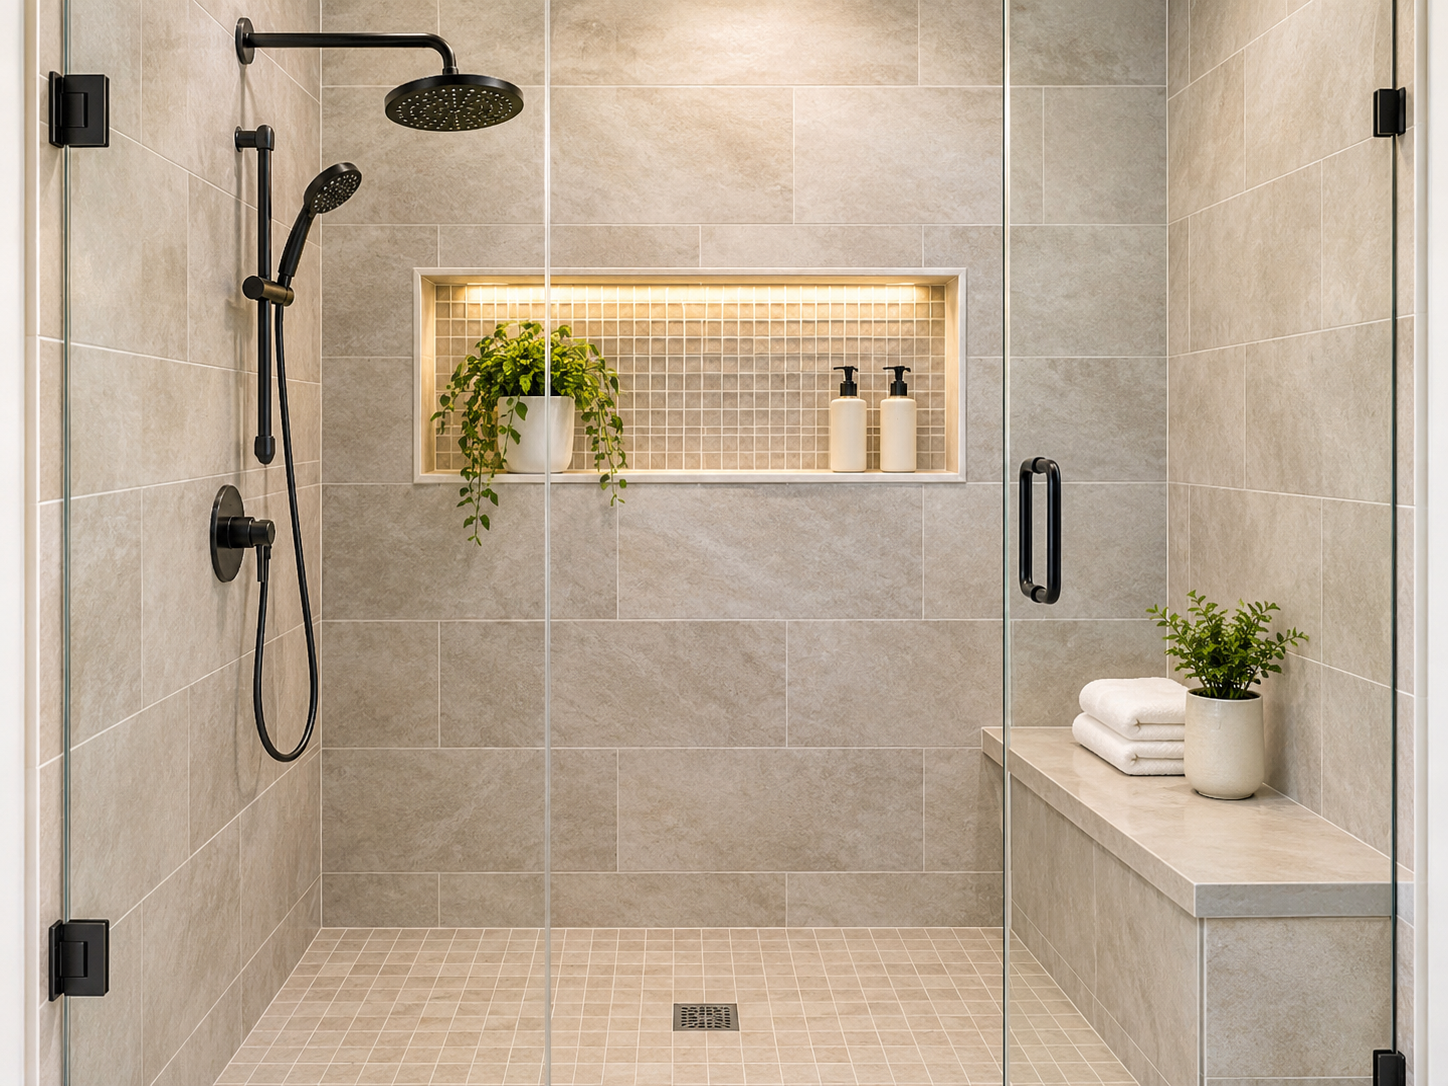
A recessed shower niche replaces the hanging caddy and keeps bottles off the floor. It sits between studs, usually 16 inches apart, and should be placed out of the direct spray. Slope the bottom slightly toward the shower so water does not pool.
A bench works the same way. A seat height of 17 to 19 inches is comfortable for most adults. In a tight shower, a fold-down teak seat gives you the same use without taking floor space all day.
Both must be planned before the walls close. Anything that cuts into the wall has to be wrapped in the waterproofing layer, and adding a niche later usually means tearing out finished tile.
8. Add Grab Bar Blocking and a Handheld Showerhead Now
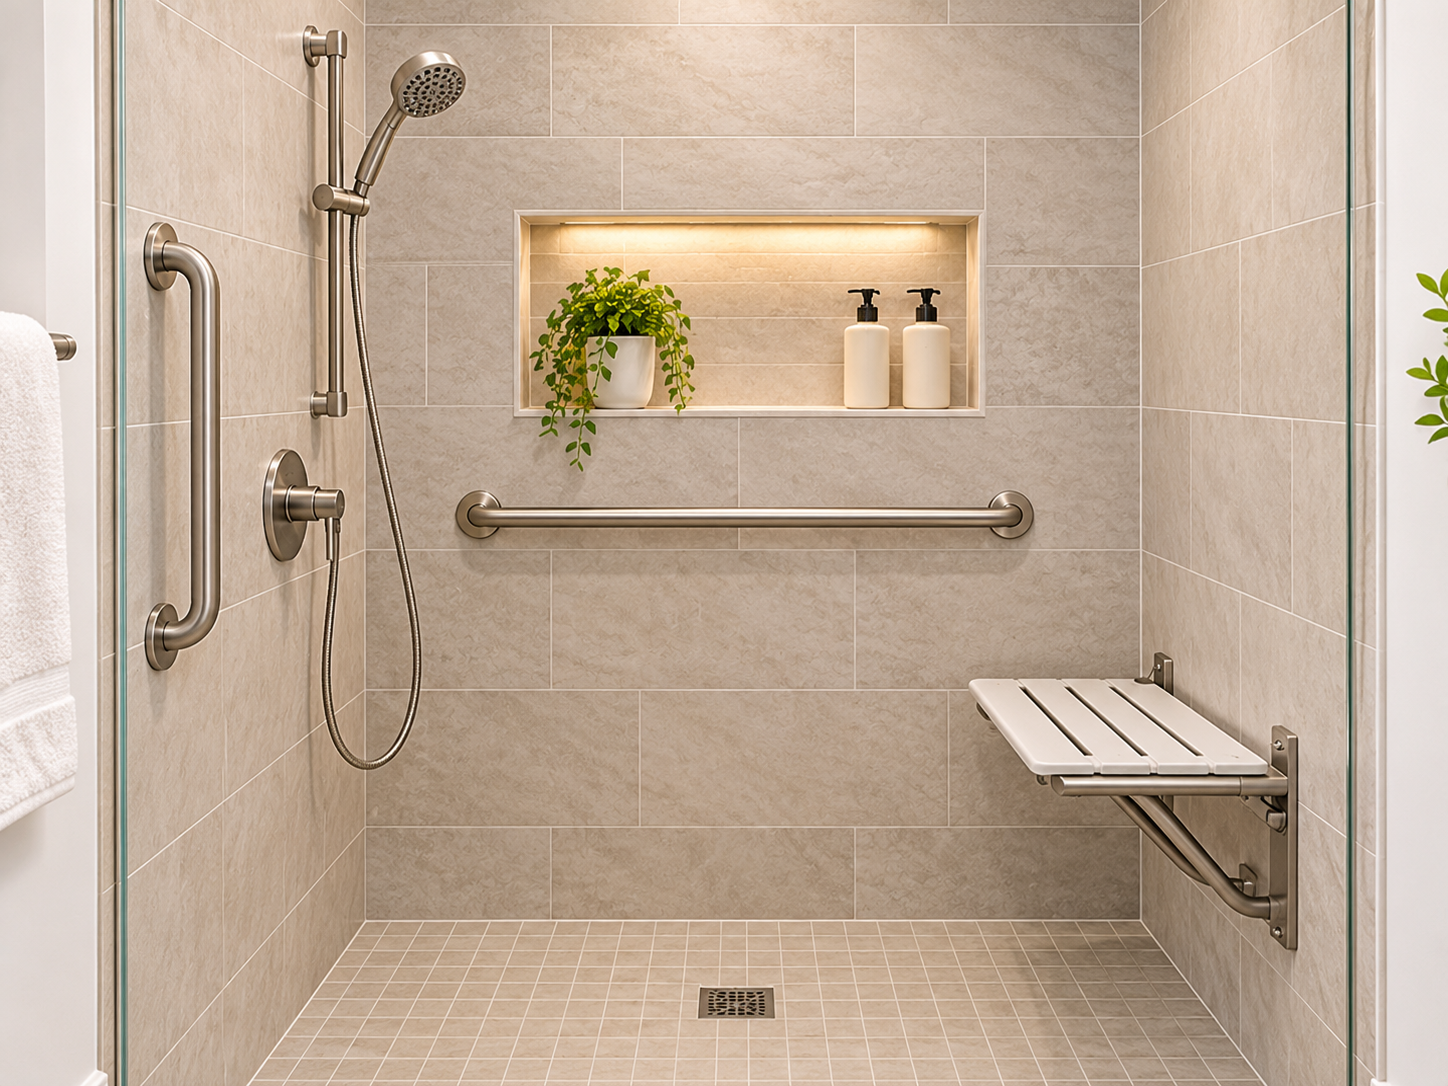
Good accessible shower design is mostly invisible. Ask your installer to add solid wood blocking inside the walls where grab bars may go, usually 33 to 36 inches above the floor. It costs very little while the walls are open. Bars screwed into tile or drywall anchors can fail.
Think about a real case. A family brings a parent home to live with them, and the guest bath tub is the only option. They swap it for a shower with a low entry, a bench, and bars in the right spots, and she showers on her own again.
Accessibility standards describe a transfer shower at 36 by 36 inches and a roll-in shower at least 30 by 60 inches. A handheld showerhead on a slide bar is the cheapest upgrade on this list. It helps tall and short users, makes cleaning easy, and works if someone showers seated.
9. Plan Lighting and Ventilation Before You Close the Walls
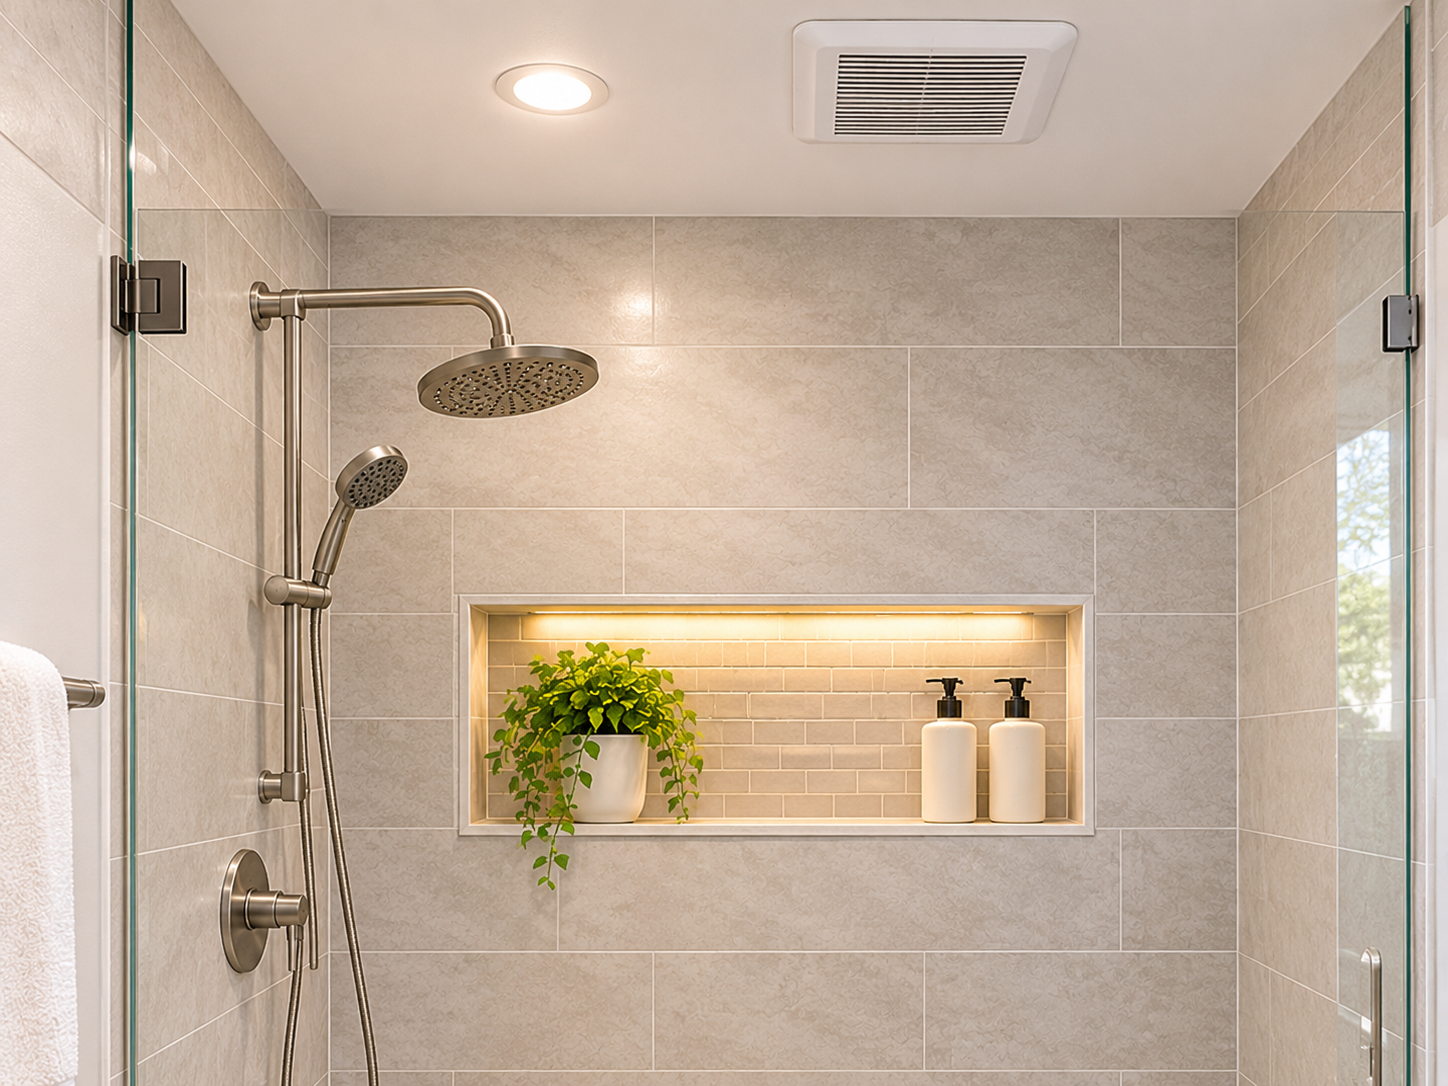
The tub surround used to block light, so converted showers often end up dim. Add a wet-rated recessed light over the shower while the ceiling is open. A small LED strip in the niche gives a soft glow at night.
Shower ventilation matters just as much. A common guideline is 1 cubic foot per minute for each square foot of bathroom floor, with a minimum of 50 CFM. A 5 by 8 foot bathroom is 40 square feet, so a 50 CFM fan is the floor, not the goal. Long or twisting duct runs reduce airflow, so keep the duct short and vent it outside, not into the attic.
Run the fan for about 20 minutes after each shower. Moisture left in the room is what feeds mildew.
10. Choose the Waterproofing System Before You Choose the Tile
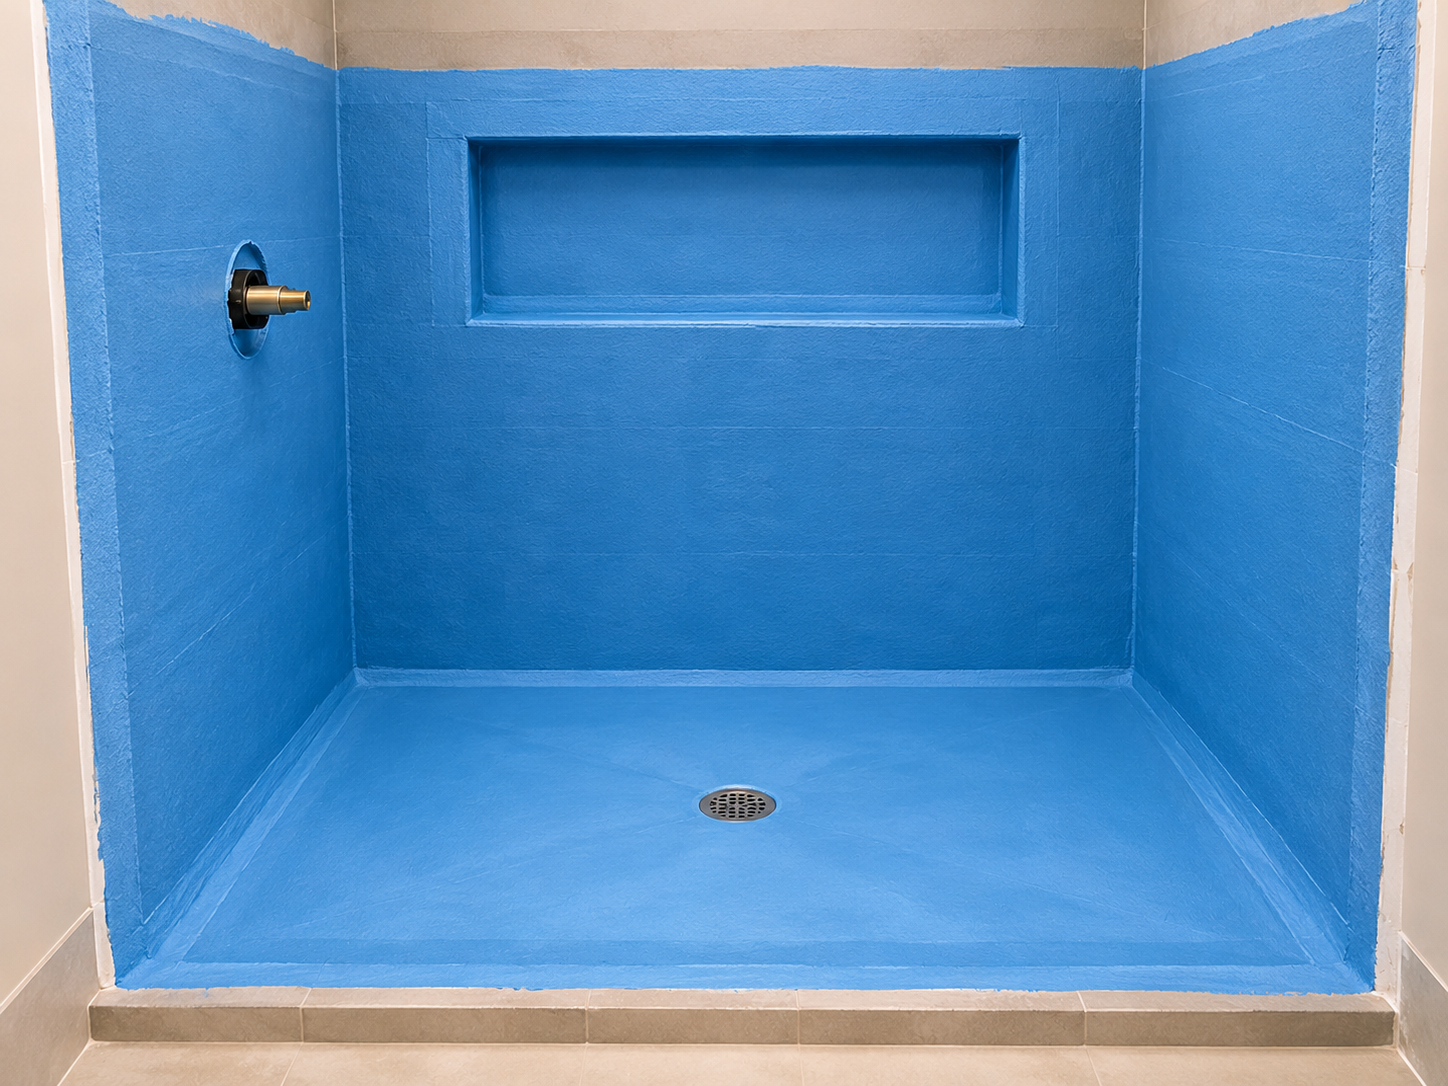
This is the idea that matters most, and it never shows. Tile and grout are not shower waterproofing. Grout is porous and every wall has seams. The real protection is a continuous membrane, either sheet or liquid, over the pan and up the walls, with sealed seams at corners and around the drain.
The pan underneath should slope about 1/4 inch per foot to the drain. Many installers then run a flood test: plug the drain, fill the pan, mark the waterline, and wait 24 hours. If the line holds, you can tile with confidence.
Skipping steps here is how showers fail. A leak behind the wall can run for months before a stain shows. If you only get to be picky about one thing, be picky about this.
Pick two or three of these tub to shower conversion ideas that serve one clear goal, such as aging in place, a bigger-feeling small bathroom, or a spa-style retreat. A shower with ten features rarely beats a shower with three well-built ones. Spend first on the hidden parts and the things you touch daily, and save on decorative finishes.
How Much Does a Shower Conversion Cost, and Where Does the Money Go?
The table gave you ranges. Here is what pushes a project to the high or low end:
- Moving the drain or valve: On a slab, cutting concrete adds labor. Moving supply lines inside a wall adds plumbing time.
- Floor work for a curbless entry: Recessing a pan can mean framing or concrete work.
- Custom glass: It is cut to your finished opening, so it costs more than a stock panel.
- Tile size and pattern: Complex layouts and small mosaics take longer to install.
- Hidden damage: A soft subfloor beside the old tub drain is a common surprise after demolition.
- Permits and inspections: Plumbing and structural changes usually need a permit. Check your local building department.
Ways to hold the cost down without cutting corners:
- Keep the drain and valve where they are.
- Use a standard size base or pan.
- Choose a fixed glass panel instead of a full door.
- Spend on waterproofing and the valve, then save on decorative extras.
What Can You DIY and What Should You Leave to a Pro?
A handy homeowner can often handle:
- Careful demolition of the old surround and tile
- Painting, caulking, and swapping showerhead trim
- Setting wall tile, if you have done it before
Leave these to a licensed pro unless you have real experience:
- Moving drains, supply lines, or the valve
- Building and sloping the pan, and installing the waterproofing
- Electrical work for lights or heated floors
- Structural changes to floor framing
- Removing a heavy cast iron tub, which can weigh over 300 pounds and is often broken up in place
- Measuring and installing glass
The split matters because the failures happen in the hidden work. A crooked tile is a cosmetic problem. A leaking pan is a rebuild.
A Realistic Timeline and How to Plan It
Good planning saves more time than fast work. Order the long-lead items early, and make the big decisions before the demo starts.
- 2 to 4 weeks before demo: Lock the layout, apply for permits, and order the valve, tile, drain, and fixtures. Plan for custom glass lead time.
- Day 1 to 2: Remove the tub and inspect the subfloor and plumbing.
- Day 3 to 5: Do the plumbing rough-in, framing, blocking, and backer board. Install the pan.
- Day 5 to 7: Apply waterproofing and run the flood test.
- Day 8 to 10: Set tile and grout.
- After tile: Template and install the glass, then caulk and finish the fixtures.
Most tile projects run 7 to 14 days on site, plus the glass wait. Prefab installs can finish in 2 to 4 days. Keep every delivery date and inspection in one place. A simple calendar works, and so does one of the home maintenance apps homeowners already use for reminders.
Plan a backup shower for the downtime, such as another bathroom or a gym pass. Add a buffer of a few days for surprises, because they happen.
How to Care for Your New Shower
A good shower stays good with small habits. Squeegee the glass, run the fan, and wipe the floor drain area now and then.
Check the caulk at corners and around the base once or twice a year, and replace it when it cracks or peels. Seal cement grout if your installer recommends it. Fold these checks into the seasonal routine you already use for filters and gutters, the kind of habits covered in basic home maintenance tips.
FAQ
How much does it cost to convert a tub to a shower?
A prefab conversion often runs about $1,500 to $5,000 installed, a tiled shower about $5,000 to $12,000, and a curbless tile shower $8,000 to $20,000 or more. Regional pricing and hidden damage can move those numbers.
Can I convert a tub to a shower myself?
You can handle demolition, caulking, and possibly tile if you have experience. Plumbing changes, pan slope, and waterproofing are best left to a licensed pro, since mistakes there are expensive to fix.
How long does a tub to shower conversion take?
A prefab shower can take 2 to 4 days. A tiled shower usually takes 7 to 14 days on site, and a curbless build can take 2 to 3 weeks, plus any wait for custom glass.
Does removing a bathtub hurt resale value?
It can if it is the only tub in the house and buyers are likely to be families with young children. If another bathroom keeps a tub, or you plan to stay, a quality walk-in shower is usually a plus.
Do I need a permit?
Plumbing or structural changes usually require one. Rules vary by city and county, so call your local building department before you start.
Conclusion
A great shower comes from planning, not from the tile alone. Start with the old tub footprint, choose a build type that fits your budget, and decide on your entry, glass, drain, and storage before demolition begins. Then protect the whole thing with proper waterproofing.
The best tub to shower conversion ideas are the ones that fit how you live today and how you want to live in ten years. Keep the plan simple, build the hidden layers right, and you will have a shower that feels modern and lasts.